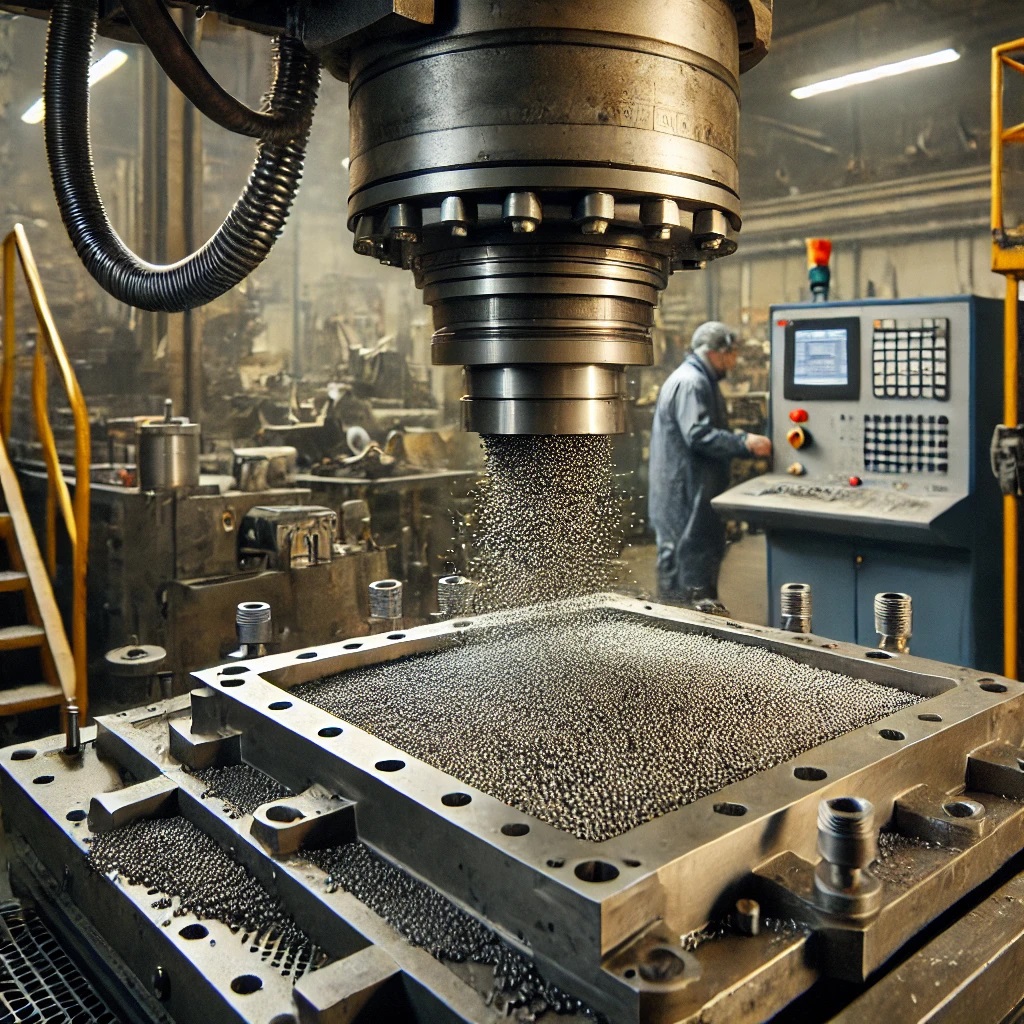
Shot peening is a critical surface treatment process used in various industries, especially in automotive, aerospace, and manufacturing. This process enhances the fatigue strength and stress resistance of metal parts by inducing beneficial compressive residual stresses on their surfaces. But how is the effectiveness of shot peening measured? This article delves into the key methods and metrics used to evaluate shot peening process effectiveness, ensuring that the process delivers the desired results.
Understanding Shot Peening
Shot peening is akin to sandblasting but instead uses small spherical media known as shots. These shots bombard the surface of the metal, creating tiny indentations or dimples. Each dimple acts like a cold-worked spot that increases the surface’s hardness and resistance to fatigue. The process is essential for components exposed to high stress, such as gears, springs, and turbine blades.
Key Factors Influencing Shot Peening Effectiveness
Several factors influence the effectiveness of shot peening, including:
- Shot Size and Material: The size, material, and hardness of the shots used impact the intensity of the peening process.
- Intensity: This refers to the energy delivered to the surface by the shot peening process.
- Coverage: Ensuring that the entire surface area is uniformly peened.
- Angle and Velocity: The angle at which the shots strike the surface and their velocity play a significant role in the process.
Methods for Measuring Shot Peening Effectiveness 📊
Measuring the effectiveness of shot peening is crucial for quality control and ensuring that the treated components meet the required specifications. Here are the primary methods used:
1. Almen Strip Testing
Almen strip testing is the industry-standard method for measuring shot peening intensity. It involves placing a thin, flat strip of steel (the Almen strip) on the surface being peened. The strip bends due to the compressive stresses induced by the peening process. The degree of curvature, measured using an Almen gauge, indicates the intensity of the peening process. There are three types of Almen strips—A, C, and N—each with different thicknesses, used depending on the peening intensity required.
Key Point: Almen strip testing provides a reliable, quantifiable measurement of shot peening intensity, which is crucial for ensuring consistent results across different parts.
2. Coverage Inspection
Coverage refers to the percentage of the surface area that has been impacted by the shots. The goal is to achieve 100% coverage to ensure uniform stress distribution. Coverage is typically inspected visually or using optical methods such as image analysis software, which provides more accurate results. Proper coverage ensures that no part of the surface is left untreated, which could lead to stress concentration points and potential failure.
Key Point: Achieving and measuring full coverage is essential for maximizing the benefits of shot peening, particularly in components subject to cyclic loading.
3. Residual Stress Measurement
The primary purpose of shot peening is to induce compressive residual stresses in the material’s surface layer. Residual stress measurement techniques such as X-ray diffraction (XRD) or hole-drilling are used to quantify these stresses. XRD is a non-destructive method that measures the diffraction of X-rays by the crystalline structure of the material, providing a precise assessment of the stress profile. Hole-drilling, on the other hand, involves drilling a small hole in the material and measuring the strain around the hole to calculate the residual stresses.
Key Point: Residual stress measurement is critical for verifying that the shot peening process has achieved the desired stress profile, which is directly linked to the component’s fatigue life.
4. Surface Roughness Measurement
Shot peening alters the surface roughness of the treated component, which can affect its performance, particularly in high-stress applications. Surface roughness is measured using profilometers or other surface measurement tools. Controlling surface roughness is essential to ensure that the shot peening process does not introduce excessive roughness that could lead to premature failure.
Key Point: Monitoring surface roughness helps in balancing the benefits of increased fatigue resistance with the need to maintain an acceptable surface finish.
Importance of Regular Quality Control
Consistent quality control and measurement of shot peening effectiveness are vital for maintaining the integrity of treated components. Regular testing ensures that the process parameters are optimized and adhered to, thereby guaranteeing that the desired compressive residual stresses are achieved without compromising the surface finish or coverage.
FAQs about Shot Peening Effectiveness
1. What is the main goal of shot peening?
- The main goal of shot peening is to improve the fatigue strength and stress resistance of metal components by inducing compressive residual stresses on their surface.
2. How is shot peening intensity measured?
- Shot peening intensity is typically measured using the Almen strip method, which assesses the curvature of a strip of steel after being peened.
3. Why is full coverage important in shot peening?
- Full coverage ensures that the entire surface is uniformly treated, which is crucial for eliminating stress concentration points that could lead to component failure.
4. What role does residual stress measurement play in shot peening?
- Residual stress measurement verifies that the shot peening process has successfully induced the necessary compressive stresses, which are essential for enhancing the component’s fatigue life.
5. Can shot peening affect surface roughness?
- Yes, shot peening can increase surface roughness, which is why it’s important to measure and control it to avoid negative impacts on the component’s performance.
Conclusion
The effectiveness of shot peening is measured through a combination of methods including Almen strip testing, coverage inspection, residual stress measurement, and surface roughness assessment. Each of these methods plays a critical role in ensuring that the shot peening process enhances the durability and performance of metal components. Regular quality control and adherence to process parameters are essential for achieving consistent and reliable results, making shot peening an indispensable process in high-stress applications.
