
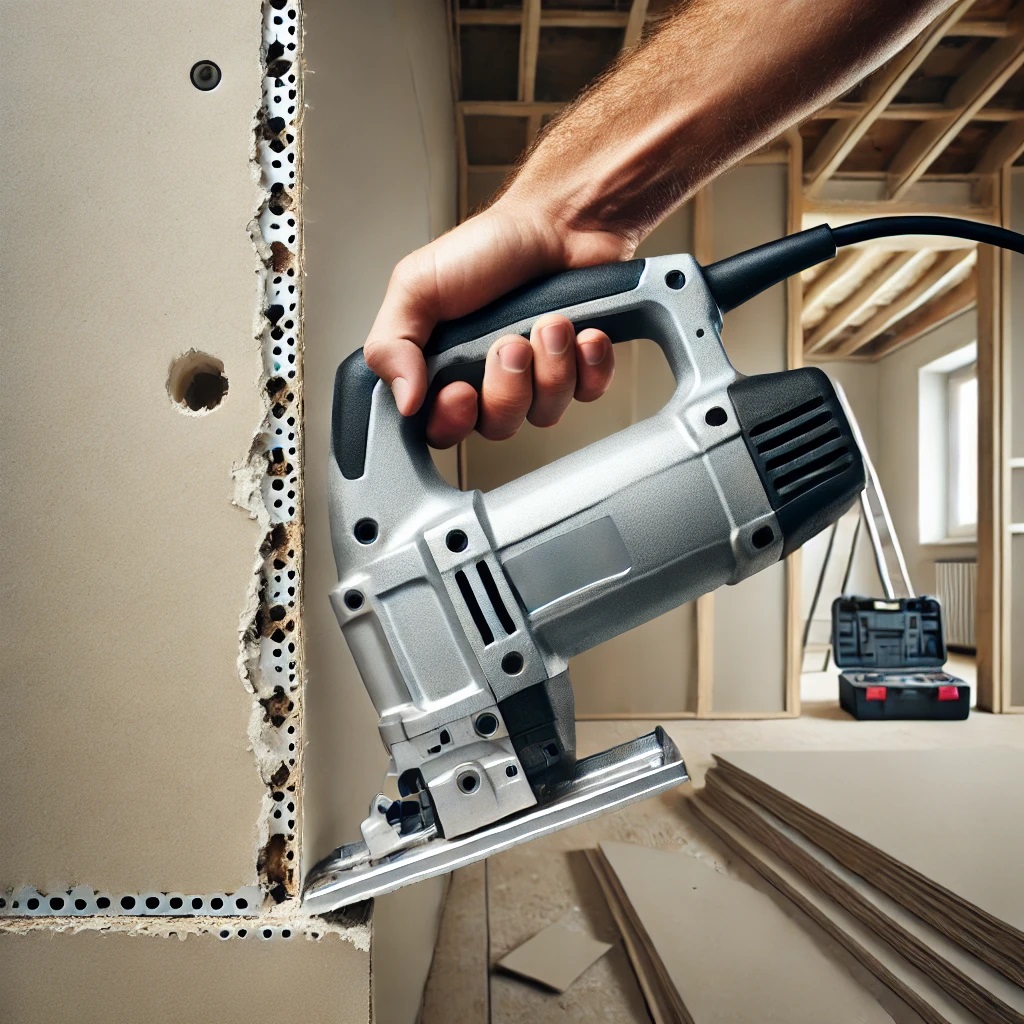
Drywall cutout tools are essential for home improvement enthusiasts and professionals alike. These tools, also known as rotary tools or drywall routers, help make precise cuts in drywall, enabling you to easily create openings for outlets, windows, doors, and other fixtures. In this comprehensive guide, we’ll explore how to use a drywall cutout tool effectively, including tips for safety, precision, and efficiency.
What is a Drywall Cutout Tool?
A drywall cutout tool is a specialized power tool designed to make precise cuts in drywall. It typically comes with various attachments, such as bits or blades, allowing users to cut holes, slots, or shapes in drywall for electrical outlets, light switches, vents, and other fixtures.
Benefits of Using a Drywall Cutout Tool
- Precision: The tool is specifically designed to make exact cuts, avoiding damage to surrounding areas.
- Speed: A cutout tool can make fast work of cutting through drywall.
- Versatility: It can handle a variety of tasks such as cutting holes for outlets, lights, and more.
Tools and Materials You’ll Need
- Drywall cutout tool (rotary tool)
- Various cutting bits
- Pencil for marking
- Measuring tape
- Safety glasses and gloves
- Dust mask
- Utility knife (for prep work)
Step-by-Step Guide on How to Use a Drywall Cutout Tool
Step 1: Prepare Your Workspace
Before starting, make sure your workspace is clean and free from obstacles. Cover any furniture or flooring to protect it from dust and debris. If you’re working with electrical outlets, ensure the power is off to avoid accidents.
Step 2: Mark Your Cut
Using a pencil, mark the area you need to cut out on the drywall. Measure carefully and ensure that the dimensions are precise. This will guide your tool as you make your cuts. For electrical boxes, hold the box against the drywall and trace around it.
Step 3: Install the Correct Bit
Most drywall cutout tools come with different bits for various applications. For cutting drywall, use a drywall bit, usually a spiral-shaped bit, designed to cut quickly and cleanly through drywall.
- Turn off the tool.
- Insert the bit by loosening the chuck and sliding the bit into place.
- Tighten the chuck to secure the bit.
Step 4: Adjust the Depth of the Cut
Drywall is typically ½ inch thick, so you’ll need to set the cutting depth accordingly. Many drywall cutout tools have adjustable depth settings. If you’re cutting around an electrical box, set the depth slightly shallower to avoid cutting into wiring.
Step 5: Position the Tool and Start Cutting
With your tool set, hold it firmly with both hands. Place the bit at a corner of the area you’re cutting, ensuring it is perpendicular to the surface.
- Start at the edge: Begin by cutting along the edge of your marked area. Insert the bit into the drywall at a slow speed to avoid breaking the bit.
- Move steadily: Guide the tool steadily along the marked lines, keeping the bit moving at a consistent speed to ensure smooth cuts.
For electrical boxes, many professionals use the plunge cutting method. Here, you plunge the bit into the drywall near the edge of the marked area and then move the tool around the perimeter.
Step 6: Cut Along the Marked Line
Follow the traced line carefully to ensure precision. Allow the tool to do the cutting — avoid forcing it. Move slowly, especially around corners, to avoid making jagged cuts. A steady hand is essential for clean and precise results.
Step 7: Remove the Cutout
Once the cut is complete, remove the drywall cutout by gently pulling it away from the wall. Use a utility knife if necessary to clean up any rough edges or areas where the drywall didn’t fully cut through.
Step 8: Clean Up the Edges
After removing the cutout, use a utility knife to clean up any rough edges for a cleaner, more professional look.
Step 9: Final Inspection and Safety Check
Once you’re done, inspect the cut to ensure it meets the desired dimensions. Make sure the electrical box or fixture fits perfectly into the cutout. If needed, use the cutout tool to make slight adjustments.
Safety Tips
- Always wear safety glasses: Protect your eyes from dust and debris.
- Wear a dust mask: Drywall dust can be harmful to your lungs.
- Secure your workpiece: Ensure the drywall is stable before cutting.
- Use the correct bit: Ensure you’re using the correct bit for drywall cutting to avoid damage to the tool or drywall.
- Keep hands clear of the cutting area: Always keep your hands a safe distance from the cutting area.
FAQs About Using a Drywall Cutout Tool
1. What is the best bit to use for drywall cutting?
For drywall, use a spiral cutting bit, designed for precision cuts. Spiral bits are efficient and prevent jagged edges.
2. Can a drywall cutout tool be used for other materials?
Yes, depending on the bit, a drywall cutout tool can be used for cutting materials such as wood, plastic, and laminate. However, ensure you have the right bit for each material.
3. How deep should I set the bit?
The bit should be set slightly deeper than the thickness of the drywall, usually ½ inch. If cutting near wires or pipes, use a shallower depth.
4. How do I avoid damaging wires behind the drywall?
Use caution when cutting near electrical boxes. Set the bit to a shallow depth, so it only cuts the drywall and not the materials behind it.
5. Can I use a utility knife instead of a drywall cutout tool?
While a utility knife can be used for straight cuts, it lacks the precision and speed of a drywall cutout tool, especially for circular or complex shapes.
6. How do I maintain my drywall cutout tool?
Regularly clean out dust from the tool’s vents and change the bits as needed. Lubricate the tool’s moving parts occasionally to ensure it runs smoothly.
7. Is it necessary to wear hearing protection?
Yes, drywall cutout tools can be quite loud. Wearing ear protection can help protect your hearing during prolonged use.
Conclusion
Using a drywall cutout tool is a straightforward and efficient way to make precise cuts in drywall for electrical outlets, windows, or other fixtures. With the proper technique and attention to safety, you can achieve professional-quality results on your next project. Always remember to prepare, measure, and proceed with caution, ensuring a clean and accurate cut every time.